Add Album
Website owners can create photo albums (Gallery) on the website by following these steps:
1. Go to the “Album” menu.
2. Click on the menu “Add new album”.
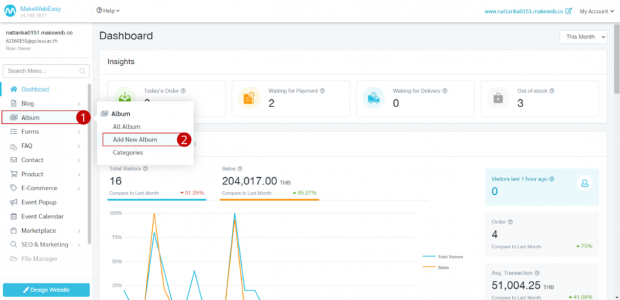
3. Enter the name of the photo album and description.
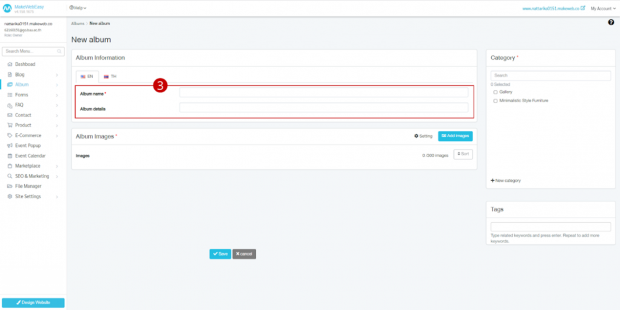
4. Click the button “Add images”.
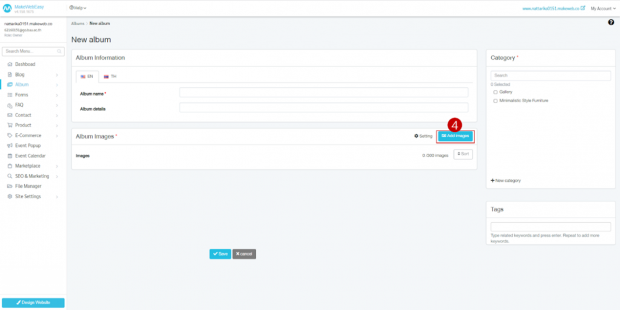
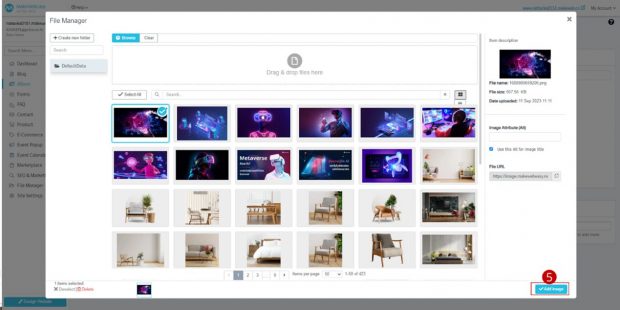
5. Select the desired picture then click on the button “Add Image”.
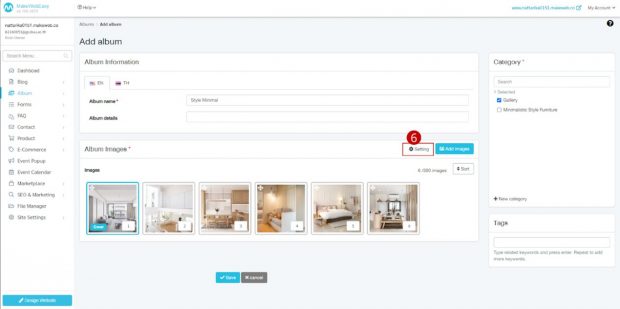
6. Click on “Settings” to choose the arrangement of photos in the album.
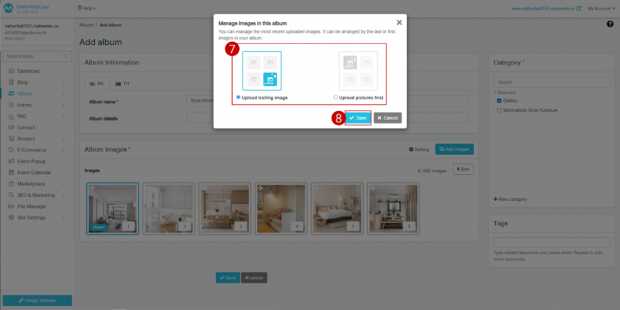
7. Select the desired format for uploading photos to the album.
8. Click on the “Save” button.
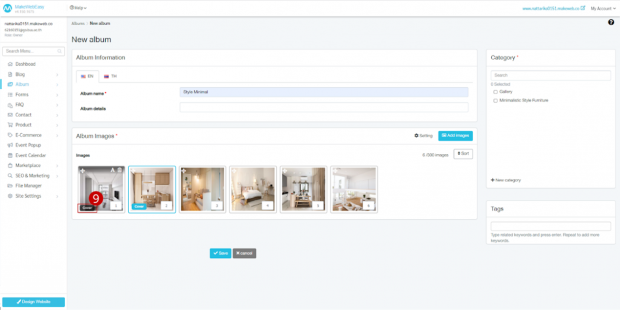
9. If you want to use a picture as an album cover, go to the desired album picture. Then click on “cover”.
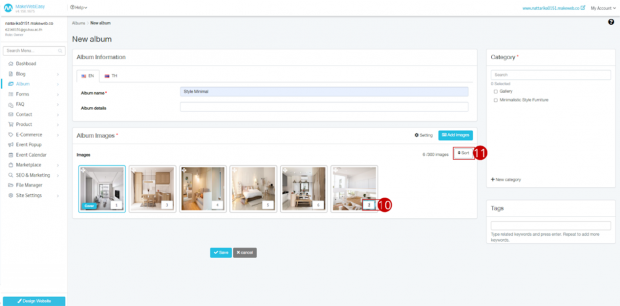
10. You can sort pictures by filling in the desired numbers.
11. Click on the “Sort” button.
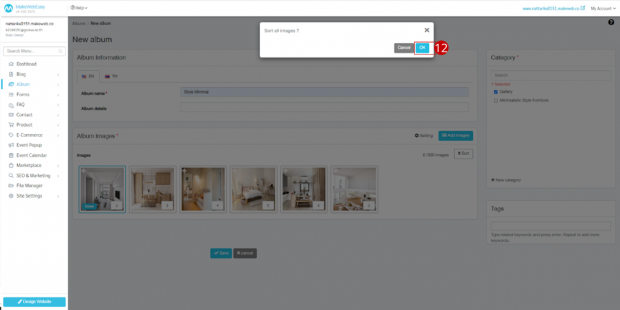
12. Modal display system confirms album photo sorting. Click on the “OK” button.
13. Select the desired album category. If there is no album category, you can click on the button “Create a new category” or add an album category at the URL to create an album category.
14. Add desired tags to help in searching within the website, including in SEO rankings.
15. Click on the “Save” button.
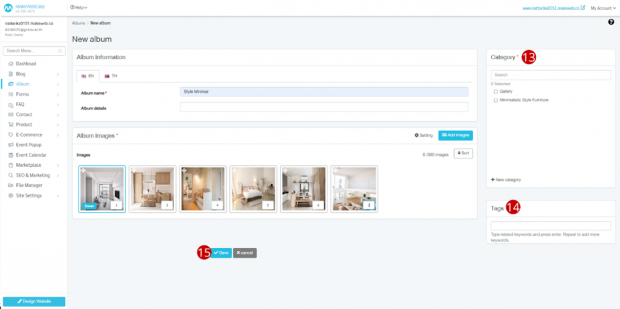

Album display results
Tips: Users can display the created album on the website by adding widgets in the Album section.
