File Manager
The MakeWebEasy platform has features that allow you to upload files, delete files, and create folders to organize images for easier management. This guide will provide an overview of a file management system that includes:
- How to create folders
- How to upload image files
- How to upload document files
- How to delete image files and documents
How to Create a Folder
- Enter the “File Manager“ menu.
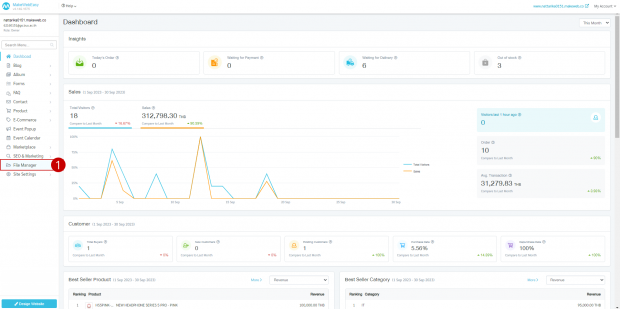
- Click on “Create New Folder.
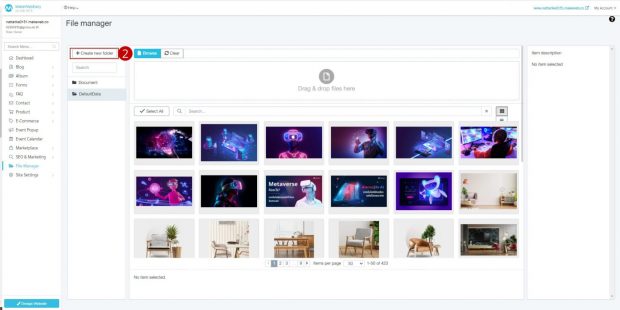
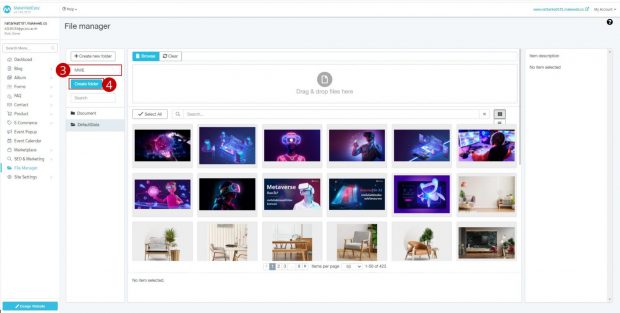
- Enter the desired folder name.
- Click the “Create Folder” button .
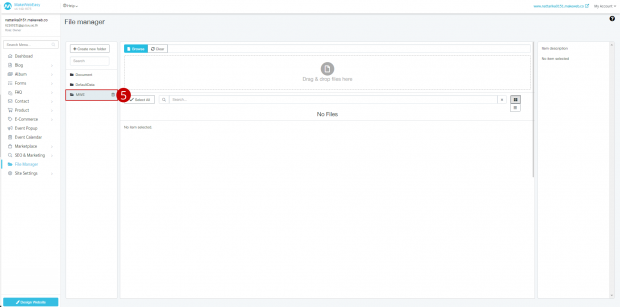
- The system will create a folder, as shown in the picture.
How to Upload Image Files
- Click the “Browse“ button or you can drag and drop to select the desired image file.
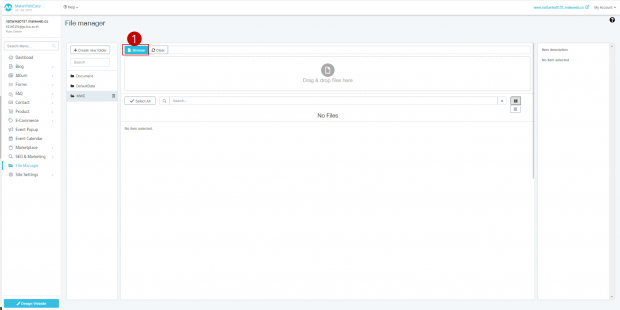
- The system will upload the image to be saved in File Manager.
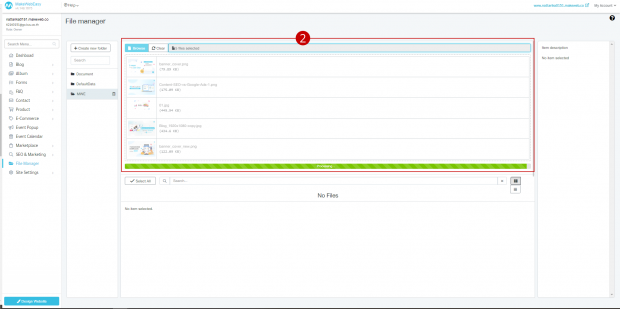
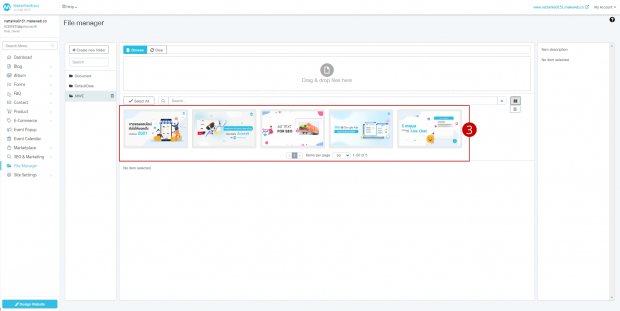
- The selected image file will be saved in File Manager.
- If you want to delete files, click the “Clear” button .
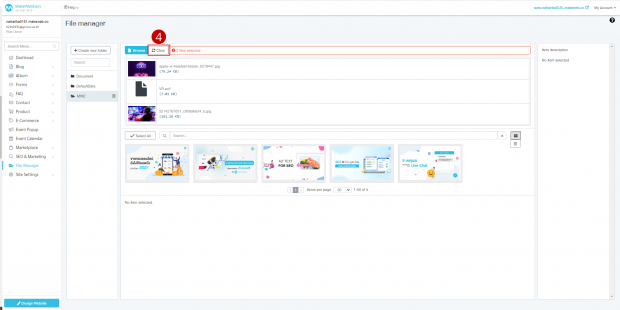
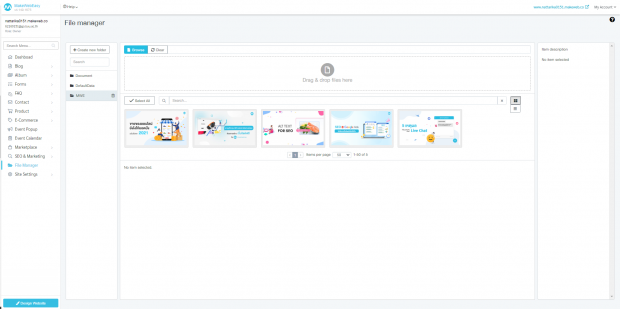
Image Upload Results Saved in File Manager
Tips:
- If you manage various sections on the design page, such as managing products, the system can also upload images on the design page. Uploaded files will be saved in File Manager.
Uploading Document Files
- Click to select the “Documents” folder .
- Click the “Browse” button or select and drag the desired document file.
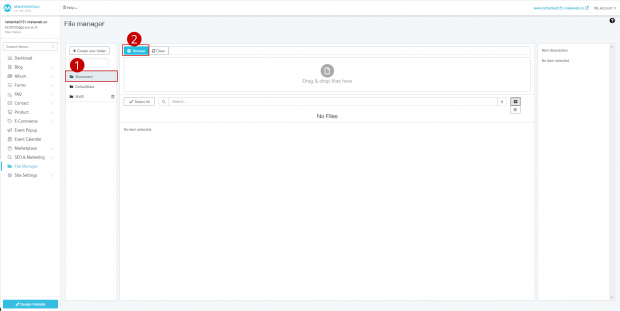
- The system will upload documents to be saved in File Manager.
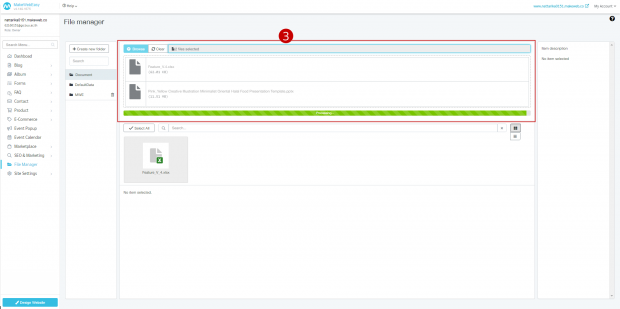
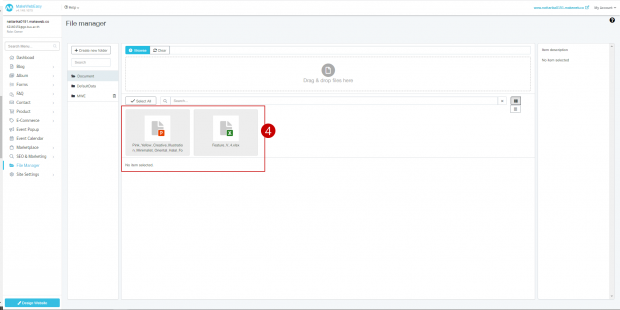
- The uploaded document file will be saved in the File Manager
Tips:
- If you manage various sections on the design page, such as managing products, the system can also upload documents on the design page. Uploaded files will be saved in File Manager.
Deleting Images or Document Files
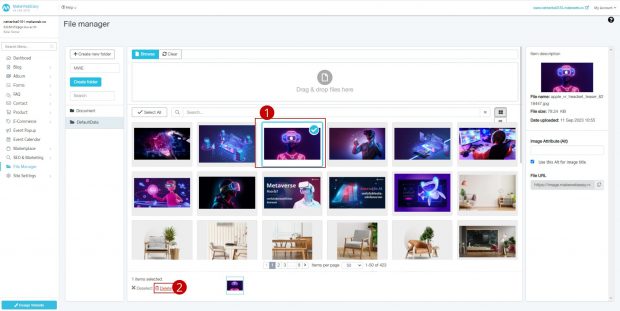
- Click to select the image or document file you want to delete.
- Click the “Delete“ button .
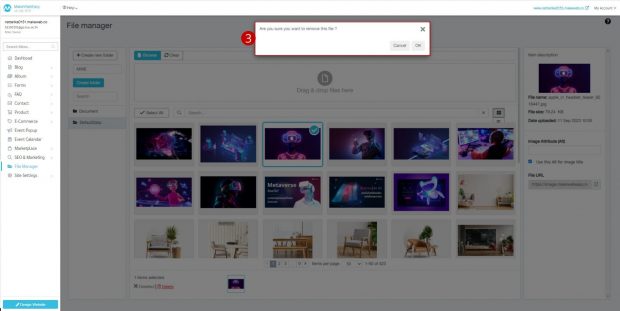
- The system will display a pop-up to confirm file deletion.
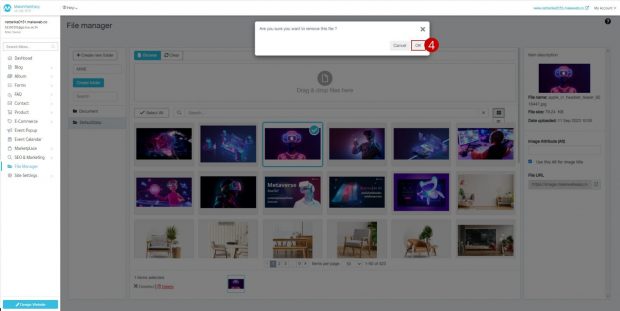
- Click the “OK” button to delete the desired image file or document.
Notes:
If you delete an image or document file in File Manager, this means that if the image is still used in the website design, the system will display a blank image (no image).
